
What To Expect During a Bathroom Remodel?
Remodels feel exciting and a little unknown. Here is the simple overview many homeowners want: planning, demolition, behind-the-wall work, installation, and final touches. Every bathroom project is unique, but the phases are consistent. Timelines depend on scope, materials, and inspections. Dreamlux keeps the process organized, communicates often, and builds bathrooms that hold up in Yuma’s heat and hard water.
Step 1 – Planning and Design
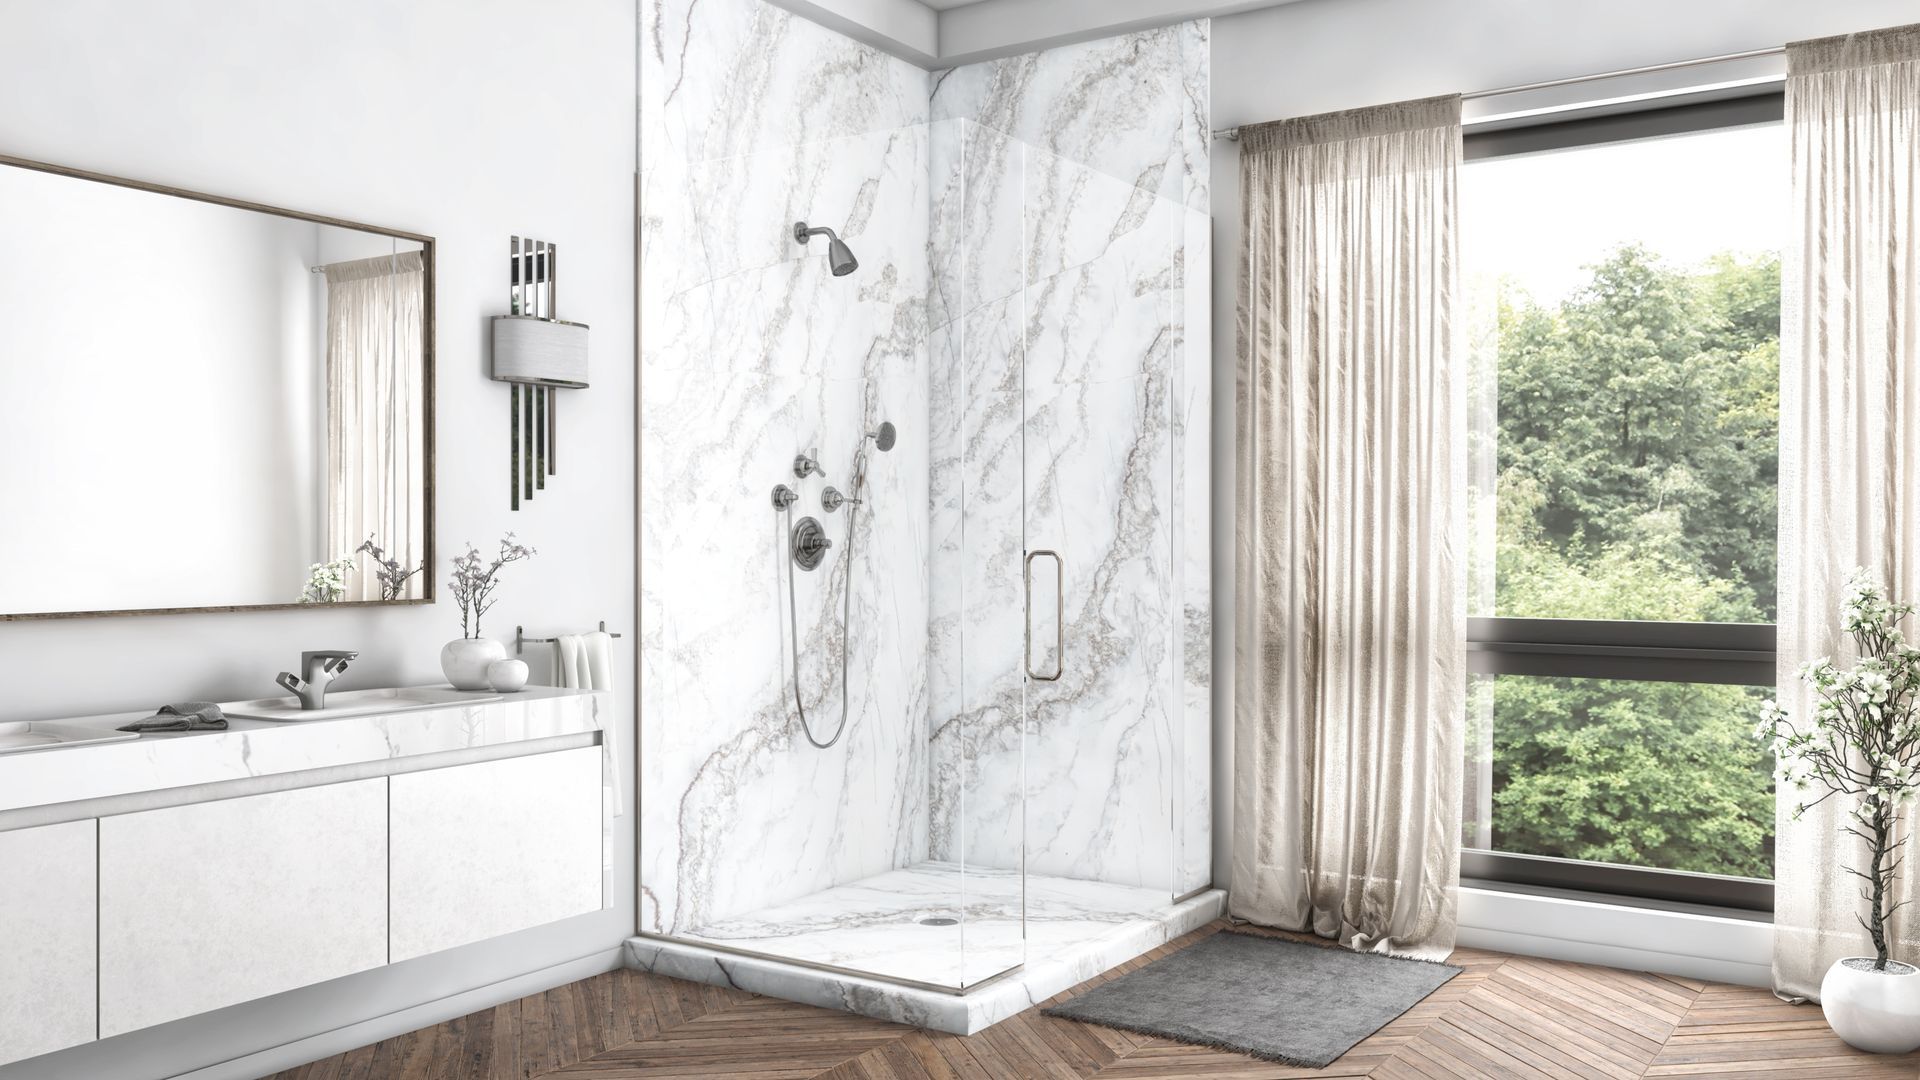
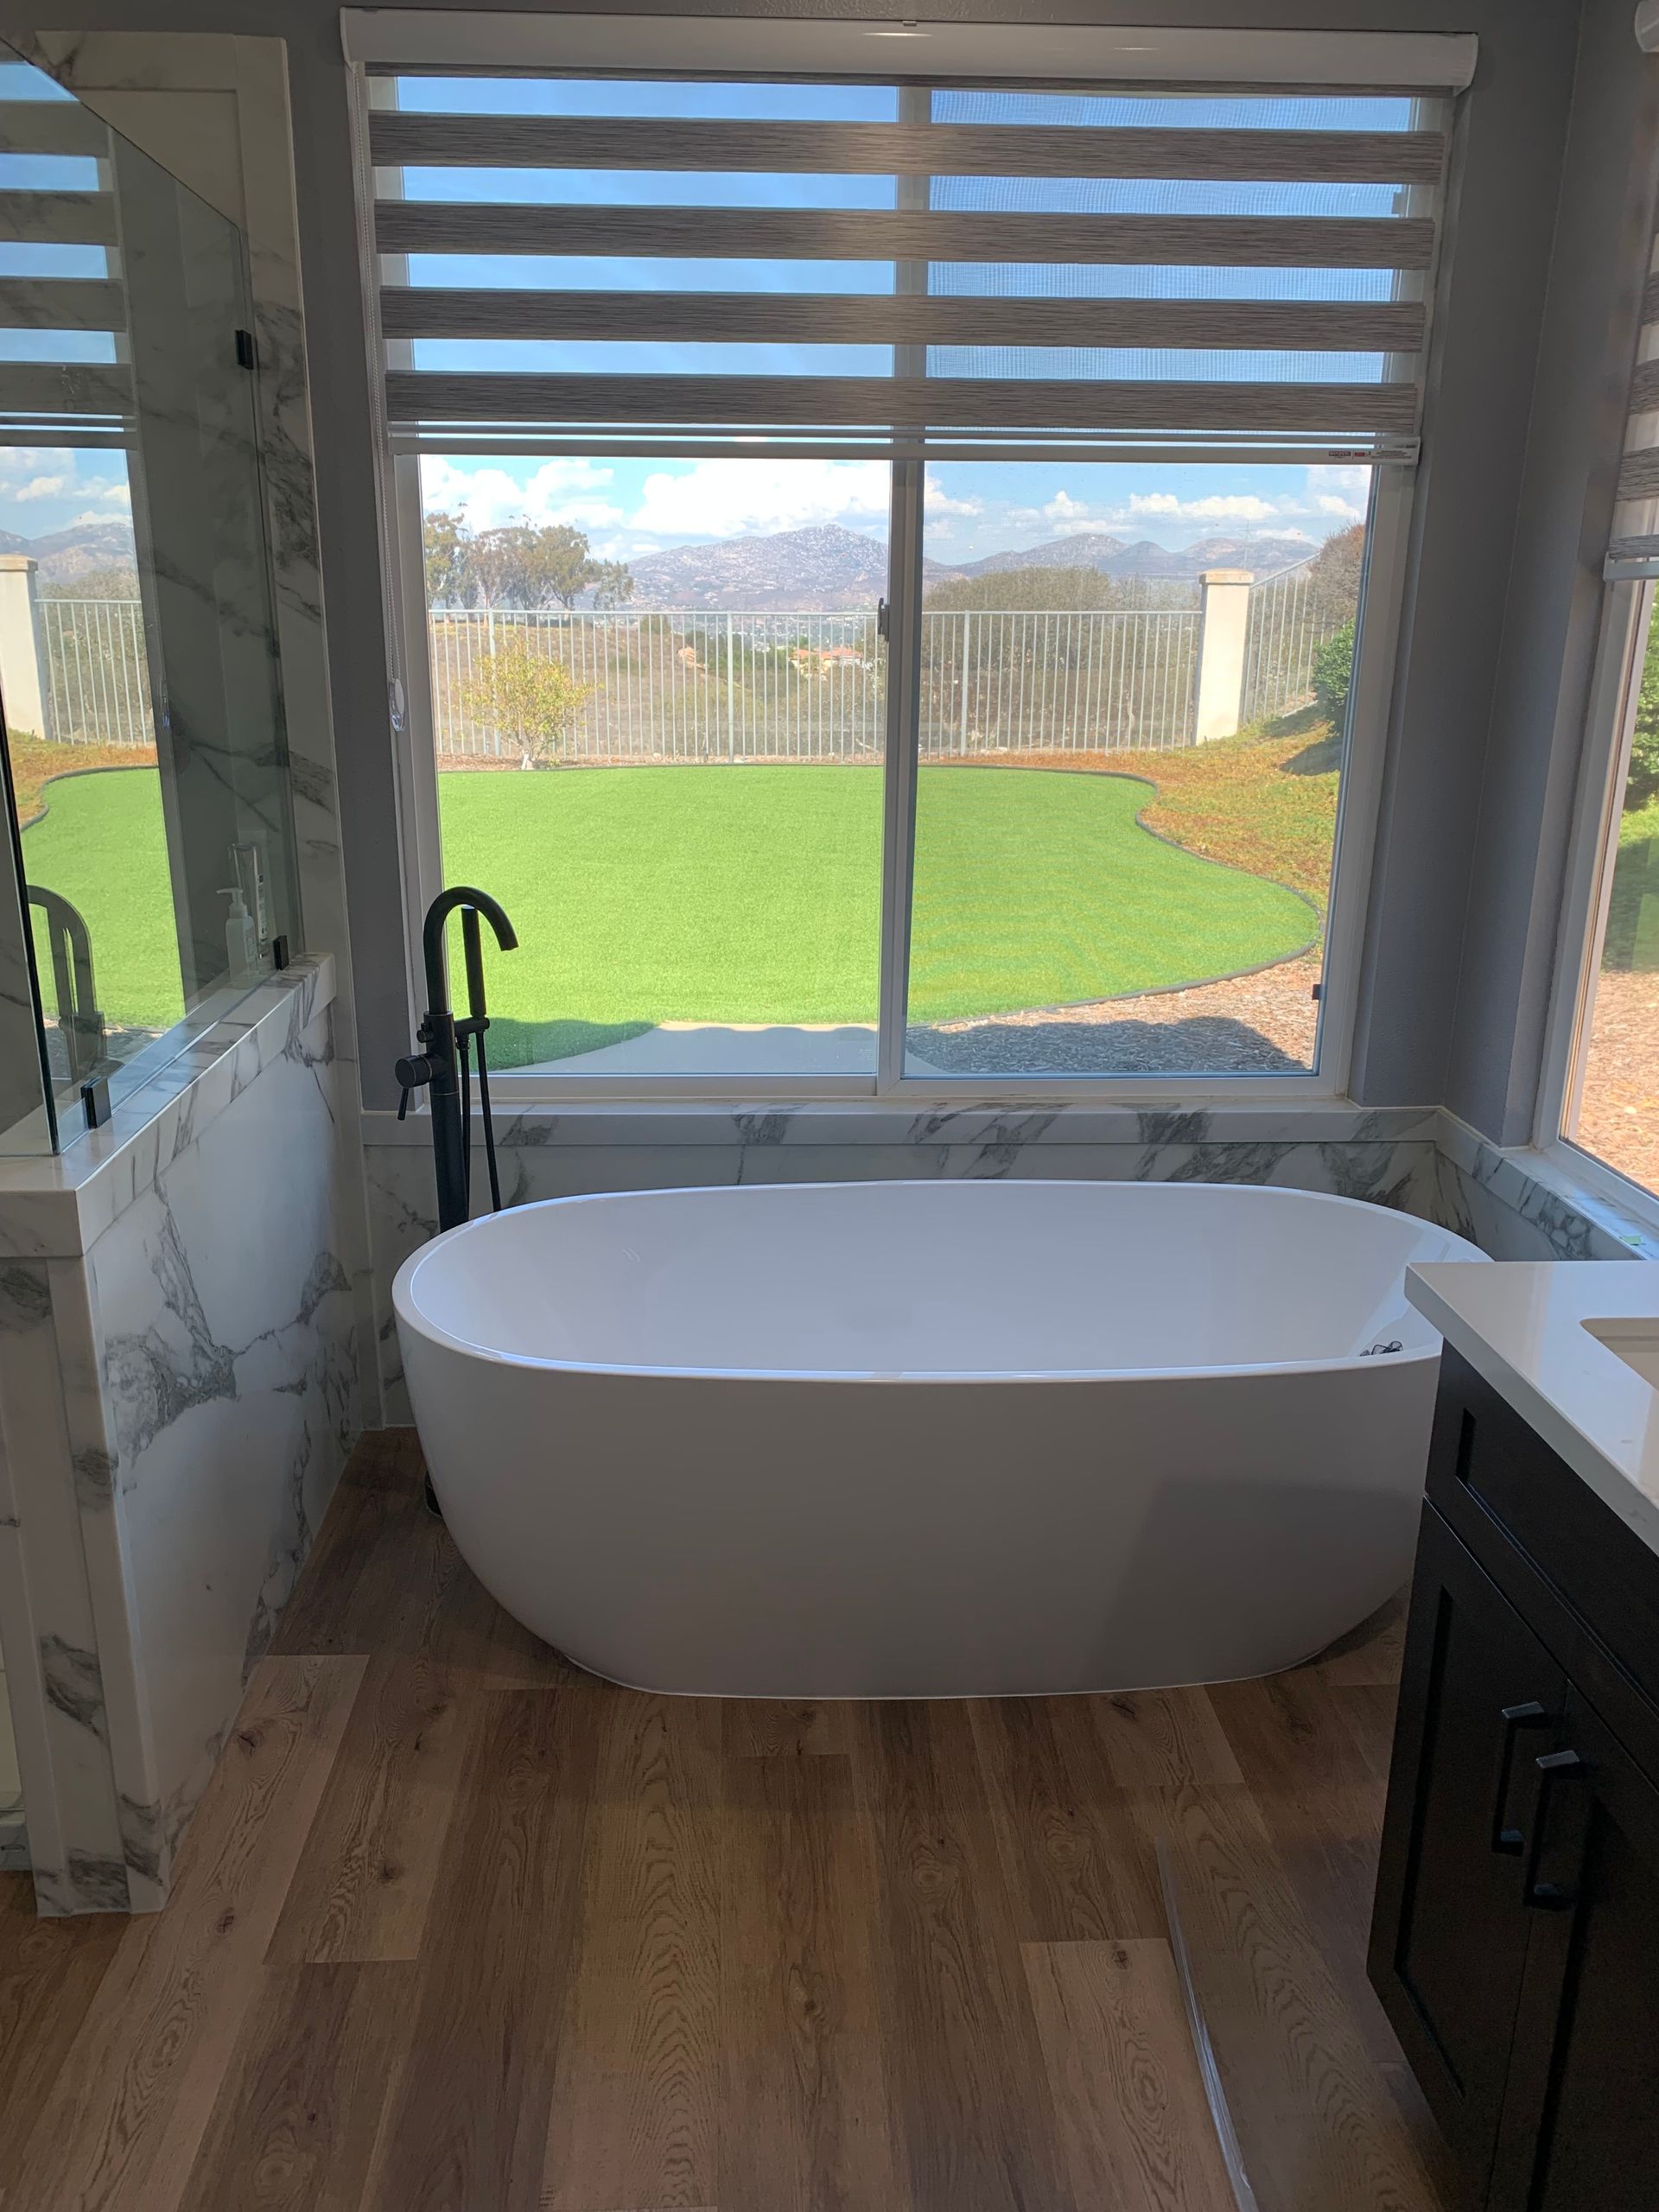
Every successful bathroom renovation starts here. Clarify goals, set a realistic budget, and decide how the room should function. If you want a walk-in shower, decide on threshold height, glass style, storage, and drain location. If you prefer a soaking tub, confirm size and placement. Make early choices for surfaces, lighting, ventilation, and Bathroom Design details so orders can be placed before demolition.
Working with a professional matters. Dreamlux measures carefully, confirms code requirements, and helps you select materials that clean easily and resist mineral buildup. The plan covers layout, product specs, lead times, and the sequence of work. Clear expectations at this stage prevent mid-project changes that cause delays and extra cost. Thoughtful planning also aligns your bathroom remodeling goals with other home improvements you may schedule in the same season.
Step 2 – Demolition and Site Preparation
Crews protect floors and nearby rooms, then remove fixtures, tile, and cabinetry in a controlled sequence. Dust control, daily cleanup, and proper disposal keep the home livable. Water is shut off to affected lines, and temporary caps are installed. If this is your only bathroom, discuss a temporary setup in advance so daily routines stay manageable.
Temporary disruption is normal, but preparation limits it. Dreamlux sets ground rules for access, work hours, and debris handling. Good prep prevents damage to the rest of the home and keeps the schedule on track.
Step 3 – Plumbing, Electrical, and Structural Work
This is the “behind the walls” phase that protects long-term performance. Licensed pros handle plumbing reroutes, new shower valves, drain adjustments, and any supply line upgrades. On the electrical side, expect updates to electrical wiring and electrical systems to support modern lighting, GFCI protection at outlets, and a dedicated line for the exhaust fan if needed. Framing adjustments correct out-of-square walls, add blocking for grab bars, and create niches or benches where planned.
Hidden issues are addressed now. Old wiring, corroded valves, or subfloor damage is corrected before new finishes go in. City or county inspections may occur at this point. Passing inspection keeps everything safe and compliant for the next phase of your bathroom remodeling process.
Step 4 – Installation and Construction
The room starts to look like a bathroom again. Shower or tub bases are set level, then walls are waterproofed. Dreamlux often recommends grout-free wall systems for easy maintenance in Yuma’s hard-water conditions. If you plan tile, substrate and waterproofing are checked carefully so seams stay tight over time.
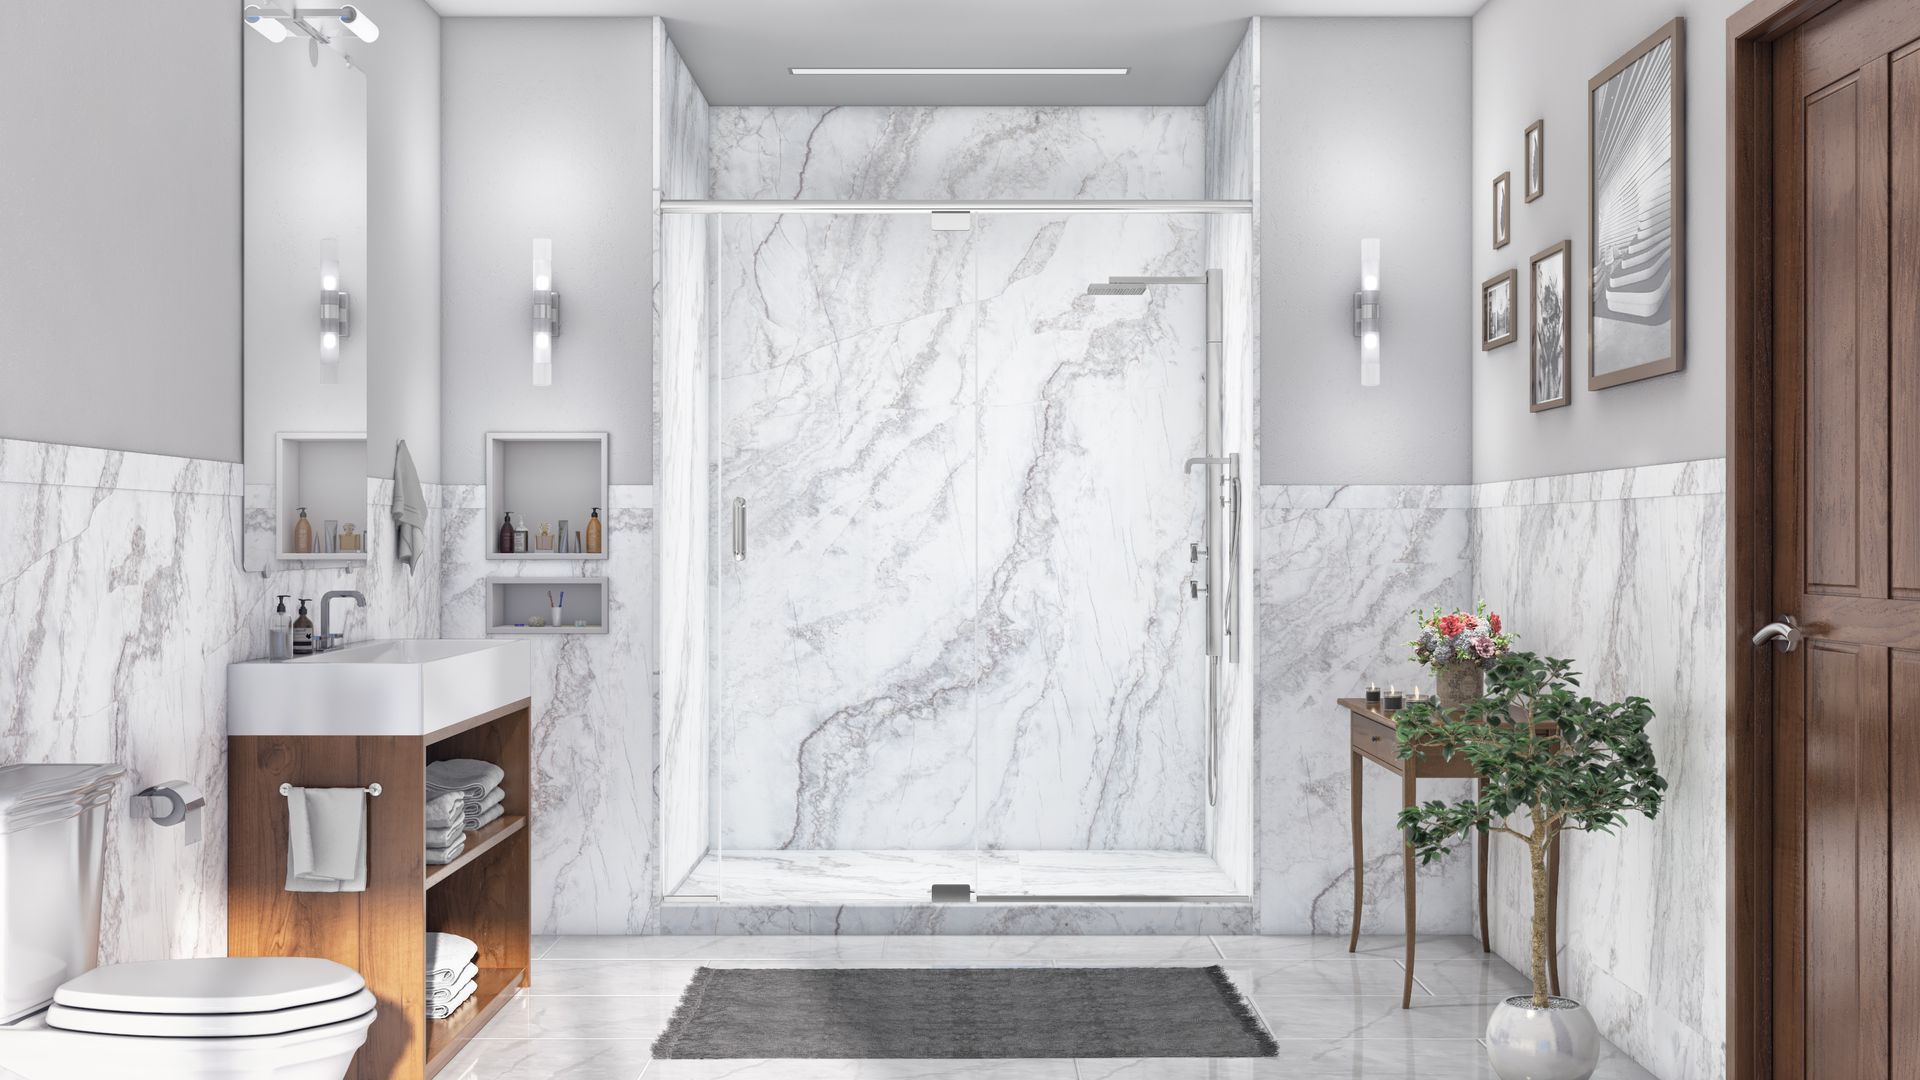
Flooring, cabinetry, and countertops go in next. Vanities are shimmed level, tops are set, and plumbing is connected with new shutoffs and supply lines. Lighting is positioned for even illumination at face height. The exhaust fan is installed or upgraded to keep humidity in check and protect finishes. Mirrors, accessories, and glass are measured and installed after walls and bases are set. Precision here prevents squeaks, leaks, and gaps that show up months later.
Step 5 – Finishing Touches and Final Walkthrough
Trim, caulking, touch-up paint, and final fixture adjustments bring the room together. Hardware, towel bars, and accessories are leveled and anchored into solid backing. Caulk cures, glass is cleaned, and floors are vacuumed. Then comes the final walkthrough.
Dreamlux reviews the space with you, tests water temperature and drainage, checks fan operation, and confirms that doors, drawers, and valves work smoothly. Any small items are noted and resolved. You receive care instructions for surfaces, glass, and sealants so the room stays fresh longer. This closeout step ensures your bathroom renovation meets expectations before the project is complete.

How Long Does a Bathroom Remodel Take?
For a typical hall or guest bath with a like-for-like layout, plan on about 2 to 3 weeks once demolition begins. A larger primary bath, a tub-to-shower conversion with layout changes, custom glass, or significant electrical wiring upgrades can push the schedule to 4 to 6 weeks. Permits, inspections, and material lead times affect timing. Unexpected repairs behind the walls can add a few days. Dreamlux sets a realistic schedule at the start and updates you if anything changes so you can plan around water shutoffs, noise, and access.
What can influence timelines:
- Special-order products or back-ordered parts
- Permit and inspection availability
- Hidden issues such as subfloor rot or outdated electrical systems
How to Prepare for Your Remodel
A little preparation goes a long way. Clear personal items from the vanity, linen cabinet, and shower. Protect valuables near the work area. If you have a second bathroom, stock it with daily essentials so your routine is simple. If you have only one bath, discuss temporary solutions before work starts. Confirm final selections for fixtures and finishes early so orders can be placed on time. Share security or pet instructions with the project manager so crews can work efficiently and safely.
Simple steps that make the project smoother:
- Move toiletries, towels, and cleaning products to a temporary station
- Approve final drawings, fixture lists, and finish samples before demolition
Start Your Bathroom Remodel with Dreamlux
Knowing the steps, the sequence, and the timeline removes uncertainty. DreamLux pairs clear planning with careful installation so your
bathroom remodel looks great and is easy to maintain in Yuma’s climate. If you are ready to begin, schedule a consultation. We will review your goals, outline a realistic plan, and guide you from first bathroom design ideas to a clean final walkthrough.